
Plants
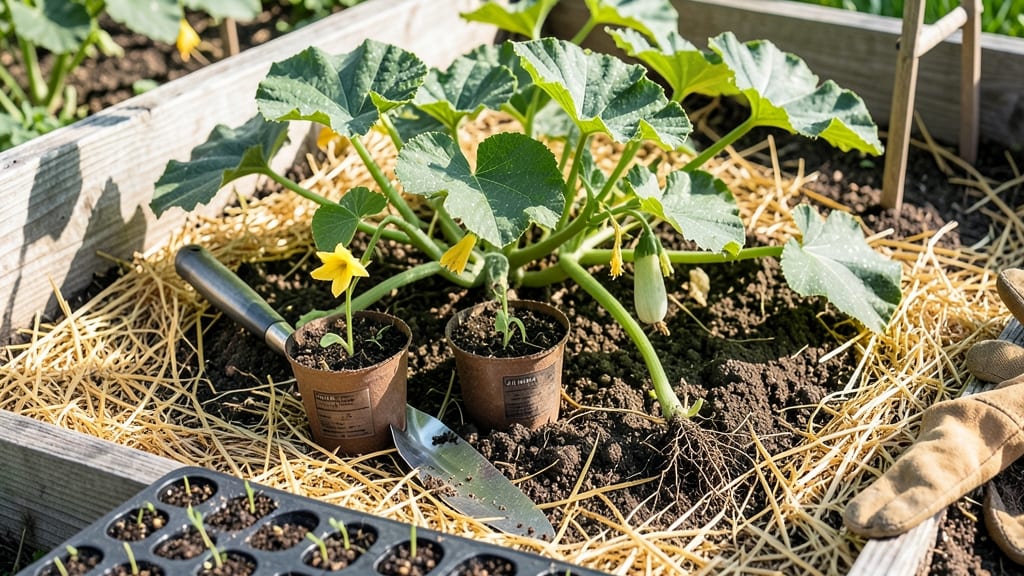
Planting squash in Texas isn’t just about dates—it’s about soil temperatures that can make or break your harvest. 🎃 Too early, and your seedlings bolt before producing fruit; too late, and summer’s brutal heat stunts growth.
The key? Waiting until the soil hits at least 60°F—a rule that trumps calendar dates in Texas’ unpredictable climate.
Texas gardeners know timing matters, but most miss the critical window between frost risk and scorching heat. Spring plantings should start in mid-March to early June, while summer varieties thrive when seeded late July to early September. These ranges align with soil warming trends, not just last-frost dates.
Why does this matter? Because squash hates cold soil, and rushing it leads to weak vines or bitter fruit.
I’ll show you how to check soil temps (yes, it’s easier than you think) and adjust for your specific Texas zone—whether you’re in North Texas’ 8a or South Texas’ 10b.
Ready to avoid the #1 mistake Texas gardeners make? Let’s dive into the exact soil temps, companion plants, and prep steps that’ll turn your squash patch from “meh” to bountiful—without the guesswork.
Texas squash planting calendar by soil temperature (not just dates)
Texas gardeners know that planting squash isn't just about calendar dates—it's about soil temperature. Squash seeds need consistent warmth to germinate properly, and Texas' diverse climates mean North Texas and South Texas have different ideal windows.
For summer squash like zucchini, aim for soil temps between 60°F-70°F, while winter varieties like butternut squash tolerate slightly cooler 55°F-65°F soils.
In North Texas (USDA zones 7b-8a), your last frost typically hits around February 15, but don't rush planting. Wait until mid-April when soil temps reliably stay above 60°F. Meanwhile, South Texas (zones 8b-10a) can plant as early as late February thanks to warmer soils.
The key is avoiding early planting that leads to bolting—when plants flower prematurely due to cold stress.
Here's the golden rule: Use a soil thermometer to confirm 60°F+ before planting. In Central Texas, this usually aligns with late March to early April, while East Texas can start slightly earlier in mid-March.
For summer planting (to extend harvests), aim for late July when soil temps begin cooling slightly from peak summer heat.
| Region | Last Frost Date | Ideal Planting Window | Soil Temp Requirement | Summer Planting Window |
|---|---|---|---|---|
| North Texas (7b-8a) | Feb 15 | Mid-April to early May | 60°F-70°F | Late July to early Aug |
| Central Texas (8a-8b) | Feb 1 | Late March to April | 58°F-68°F | Early July to mid-July |
| South Texas (9a-10a) | Jan 1 | Late Feb to March | 60°F-75°F | Mid-June to July |
| East Texas (8a-9a) | Feb 10 | Mid-March to April | 55°F-65°F | Late June to July |
For urban gardeners in cities like Austin or Dallas, microclimates matter. Rooftop gardens often stay 5-10°F cooler than street-level plots, so monitor soil temps closely. If you're using container gardening, soil warms up faster—plant 1-2 weeks earlier than in-ground gardens.
Just ensure containers have drainage holes to prevent root rot in Texas' intense summer heat.
One common mistake is relying on air temperature instead of soil temperature. A 70°F day might still hide 50°F soil, causing seeds to rot. To speed up soil warming, use black plastic mulch or row covers in early spring.
For summer squash, succession planting every 2 weeks ensures continuous harvests through September before fungal diseases take hold.
Texas' unpredictable weather adds another layer. After planting, keep an eye on 10-day forecasts for sudden cold snaps. If nighttime temps drop below 50°F, protect young plants with frost blankets.
In West Texas, where drought is common, mulch heavily to retain moisture and regulate soil temps. The goal is consistent warmth—not just a brief heat spike.
Pro tip: Plant warm-season companions like beans or corn alongside squash to improve soil health and deter pests. These plants also help stabilize soil temps by providing shade during the day and insulation at night.
For winter squash varieties, you can extend your season by planting in late summer (August) for harvests in fall and early winter before the first frost.
Remember, Texas' long growing season means you can often get two harvests in one year. Time your
How to prepare Texas soil for squash: avoid these 3 critical mistakes
Texas soil can be tricky for squash—too sandy in some areas, heavy clay in others, and often lacking the nutrients these hungry plants crave. Skipping soil prep is the fastest way to stunted growth or even failed germination.
The key? Testing, amending, and timing your prep to match Texas' unpredictable weather swings from dry spells to sudden downpours.
First, test your soil's pH—squash thrives in 6.0-7.0 range. Use a simple home test kit or send a sample to your local Texas A&M AgriLife Extension.
If your soil is too acidic (<6.0), add lime 2-3 months before planting. For alkaline soil (>7.0), mix in sulfur or peat moss.
⚠️ CALLOUT-WARNING ⚠️
🚨 Mistake #1: Planting in Unamended Clay Soil
Texas clay holds moisture like a sponge but suffocates roots. Solution: Work in 3-4 inches of compost or aged manure 4-6 weeks before planting. For heavy clay, add coarse sand to improve drainage.
🔹 Pro Tip: Use a broadfork to loosen soil 12 inches deep without bringing up clay from lower layers.
Next, focus on organic matter. Squash are heavy feeders, so blend compost, worm castings, and a balanced fertilizer (like 10-10-10) into the top 6-8 inches of soil.
In North Texas, where soil can be nutrient-poor, add bonemeal for phosphorus to boost root growth. For South Texas, prioritize potassium-rich amendments to help plants handle heat stress.
Timing your soil prep is half the battle. In North Texas, start amending in late winter (February) to let amendments break down before the March-April planting window.
In Central and South Texas, begin in June-July for fall squash, focusing on moisture retention (add coco coir or peat moss) to combat summer dryness.
Don’t forget mulching—this is non-negotiable in Texas. After planting, cover soil with straw or black plastic mulch to:
- Warm soil faster in spring (critical for germination)
- Suppress weeds (which compete for nutrients)
- Retain moisture during summer’s brutal heat
Finally, avoid fresh manure—it burns squash roots. Instead, use well-aged compost or cover crops like clover to fix nitrogen naturally. If you’re planting in containers, choose self-watering pots to prevent Texas’ erratic watering cycles from stressing your plants.
With these steps, your Texas soil will be squash-ready—no more bolting, no more wilted vines. Just lush growth and bumper crops from your garden! 🌱